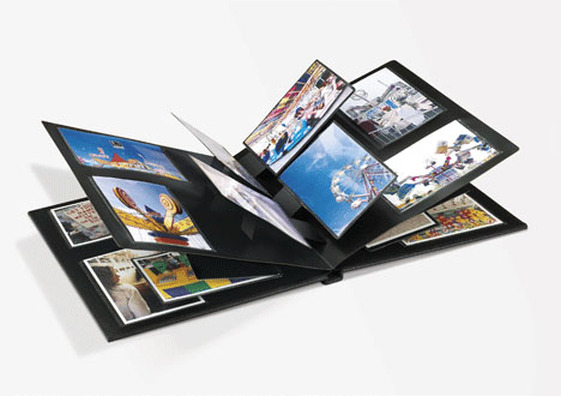
When you find that you have a number of pictures that you need to quickly put into PowerPoint, using the Photo Album feature can help you upload them quickly. From there you can make edits and adjustments.
Create Photo Album
1. On the "Insert" tab, in the "Images" group, click the arrow under "Photo Album," and then click "New Photo Album."
2. In the "Photo Album" dialog box, under "Insert picture from," click "File/Disk."
3. In the "Insert New Pictures" dialog box, locate and click the folder that contains the picture(s) that you want to insert, and then click "Insert." Note: By holding down the Ctrl key you can select multiple pictures at once.
4. If you want to change the order in which the pictures are displayed, under "Pictures in album," click the file name of the picture that you want to move, and then use the arrow buttons to move it up or down in the list.
5. Make adjustments to other features as needed.
6. Click "Create."
Add captions to pictures
When you add captions, you type text that describes each picture in your photo album.
1. Add a picture using the procedure above.
2. On the "Insert" tab, in the "Images" group, click the arrow under "Photo Album,” and then click "Edit Photo Album.”
3. In the "Edit Photo Album" dialog box, under "Picture Options," select the "Captions below ALL pictures" check box. Note: If the "Captions below All pictures" check box is unavailable and greyed out, under Album Layout you will want to choose a layout. Do not choose "Fit to slide" if you want to add captions.
4. Click "Update."
5. By default, PowerPoint uses the picture file name as a placeholder for the caption text.
6. In Normal view, click the caption text placeholder, and then type the caption.
Change the look of a picture
This procedure helps you to:
• Display all the pictures in your photo album in black and white tones
• Change the layout for your pictures (for example, specify and certain number of pictures to display on a slide)
• Add a caption to your picture
• Add a frame to your pictures (soft edge, center shadow, rounded rectangle, compound frame and more.)
• Apply a theme of colors, effects, and fonts to your photo album
• Rotate a picture
• Increase and decrease the contrast and brightness of a picture
• Open the photo album presentation containing the picture that you want to change.
• On the "Insert" tab, in the "Images" group, click the arrow under "Photo Album," and then click “Edit Photo Album."
• In the "Edit Photo Album" dialog box, do one or more of the following:
o To display all the pictures in your photo album in black and white, under "Picture Options," select the "ALL pictures black and white" check box.
o To change the layout of your pictures, under "Album Layout," in the “Picture layout" list, select the layout that you want.
o To frame your pictures, under "Album Layout," in the "Frame shape" list, select a frame shape that looks good with all of the pictures in your photo album.
o To select a theme for your photo album, under "Album Layout," next to "Theme," click "Browse," and then in the "Choose Theme" dialog box, locate the theme that you want to use.
o To rotate, increase or decrease the brightness, or increase or decrease the contrast of a picture, in the "Pictures in album" list, click the picture that you want to rotate, and use the appropriate buttons to make adjustments.
Information taken from PowerPoint Help.
This information is taken from Microsoft Help and can also be found at SharePoint > Software Users Groups > PowerPoint > Photo Album.pptx.