By Sarah Browning, Extension Educator in Lancaster County
Do you have beautiful herbs in your garden and want to preserve them for use this winter? Then it’s time to get started drying your herbs.
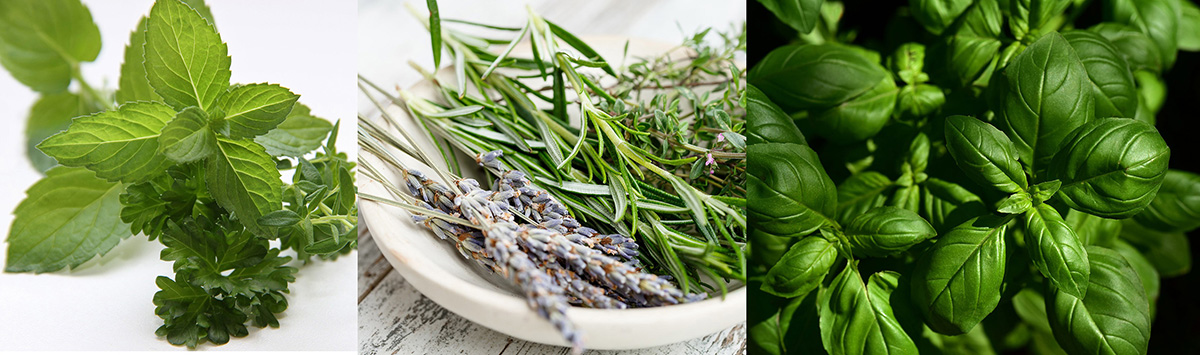
Harvest herbs for drying from stems that are in the bud stage, but have not yet flowered. This is when the leaves contain the highest amount of aromatic essential oils. Select individual stems with healthy leaves and cut them each about 6–inches long. Remove any dead or damaged leaves.
If they are not clean, brush off any loose dirt with a soft pastry brush. Washing is necessary only if the herbs are very gritty, but be sure to pat off any excess water with a paper towel before beginning the drying process.
Stop harvesting stems from perennial herbs, like thyme and sage, in late summer. This allows them to continue growing and store enough energy for overwintering.
TIPS FOR DRYING HERBS IN BUNCHES
To be successful with drying herbs, it’s important to remove the water from the leaves but at the same time keep as much of the oils and other compounds within the plant. It’s not difficult to preserve herbs, but it must be done with care.
If your plants are clean and free of pesticides, immediately after picking, hang small, loose bunches upside down from a rack or suspended from a line or cord. Don’t make the bunches too large. There is a risk the inner leaves won’t dry properly and mold may develop if enough air can’t circulate through the bunch.
The ideal place to dry herbs is a warm, dark and well-ventilated place. Ideally, the temperature should be about 90°F. Avoid hanging herbs in the kitchen, even though it looks very attractive. Kitchens are often full of condensation from cooking. It is also not advisable to dry herbs in the oven, because no matter how low the temperature is, the flavor is less than with other methods.
To prevent dust from settling on the bunches, place a paper bag over the herbs, leaving the bottom open to the air.
OTHER HERB DRYING METHODS
Two additional ways to dry herbs are to lay them flat on screens or use your microwave.
If leaves are not too small, they may be removed from the stems and dried in a single layer on trays made of window screening or 1/4–inch mesh hardware cloth.
Using your microwave oven is another quick way to dry herbs, but must be done carefully to avoid scorching them. Timing depends on the thickness of the plant part being dried and the strength of your microwave oven.
Place small bunches of herbs between two paper towels.
Microwave for 1 minute on high. Turn the herbs and continue microwaving at 20-30 second intervals.
Never leave the microwave unattended because herbs can scorch and start burning if they’re in the microwave too long.
Test for the correct level of dryness by crushing a few leaves or stems. They should be dry and brittle, crumbling into leaf bits or powder when rubbed between your hands. If they become too dry, you’ll have powdered herbs.
STORING DRY HERBS
When the drying process seems to be complete, remove the leaves from their stems and place them in sealed grass jars in a warm place. Label each container with the herb name and date harvested. Examine the jars daily to determine if any moisture has condensed on the inside of the glass. If it has, remove the contents and spread them out for further drying. If necessary, the final drying may be completed by spreading the leaves on a cookie sheet in an oven set for 110°F or less.
Flavor will be best if the herb leaves are stored whole and crushed just before adding them to food. To use herbs in a powdered or ground form, crush the leaves with a rolling pin, pass them through a fine sieve or grind them in a blender, food processor or a mortar and pestle. Store dried herbs out of direct sunlight to prevent their color from fading.